Date of writing: 15.02.2017
Obstacles/Requirements:
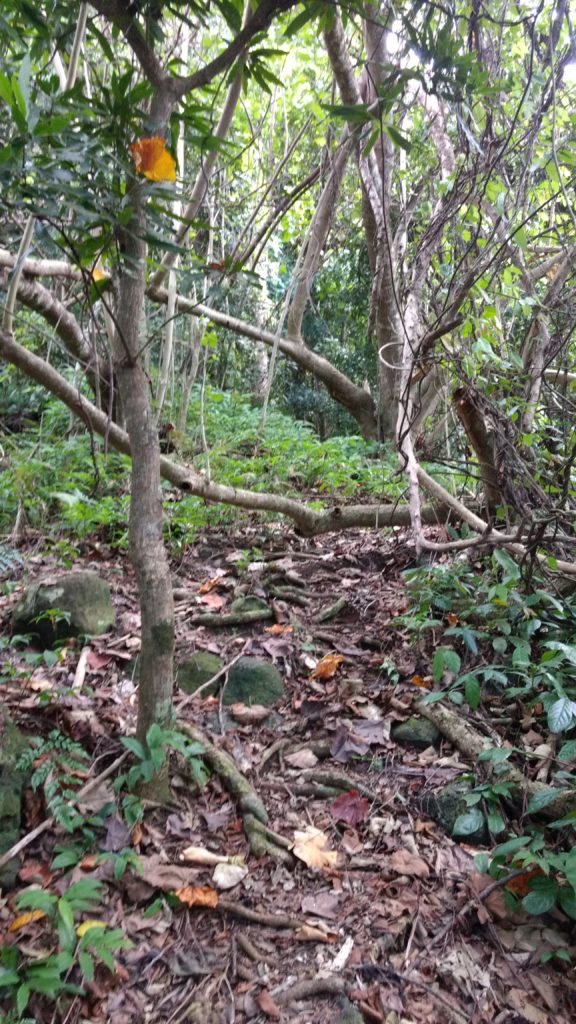
- You do not need a guide for the tour, as a guide will show you, where the path is. This description, the OSM-track and a certain sense of orientation is sufficient to find the right way. Always have an eye on whether you are still on the path, if unsure, look around, usually you should find the right way quickly. The path is slightly worn (probably a few hikers a week), and thus visible.
- Instead of a guide, better take a doctor with you, as there is the real probability of slipping. You are very unlikely to fall to death, so the maximum which could happen in reality is sliding on the slope for 2 meters. The necessity of a doctor was a joke of course 😉 just pay attention.
- Anyway, as a rule of thumb, if you are scared easily and prefer comfort and coziness, stay at home. If you prefer the feeling of having conquered the summit, while risking to get a bit dirty and sweating, go for it, you’ll make it.
- Don’t attempt, when it was raining (heavily), as there is bare rock with lichens, on which you would need to get grip. Same for the many leaves on the ground. If it is raining, you will have to do the way down on your buttock, or you will be forced to. 😉
- Don’t attempt, if you are only an occasional hiker used to easy marked trails with gentle slopes. You will have to use both arms, legs, a certain amount of body tension to pull yourself up or down. It makes the hike reliable, if you have some basic climbing experience, even at artificial climbing halls or from boldering. This should give you a good sense for your body and its behavior when moving on half vertical surfaces. But if you have, this hike makes fun.
- The path is neither trailmarked, nor well maintained. So you have to climb through/across fallen trees, step, push away some shrubs or grass. Watch out your head and face when walking, not just the ground. Anyway there seems to be partly maintenance as some of the plants were obviously cut down at some sections. Usually no problem, if you are slim and fit.
- Pay attention on the way you go up, as it is crucial to go down the same way. People have died by missing the right one, ending up in a gully.
- You’ll need hiking boots or at least a good sole and grip, even if you are just standing on the tip of the shoe. Hiking sandals could work, but will make you unhappy because of grass, seeds and sticks which might get stuck in it.
- Beware of liana like plant parts on the ground, which might let you stumble by holding your foot.
The trail:
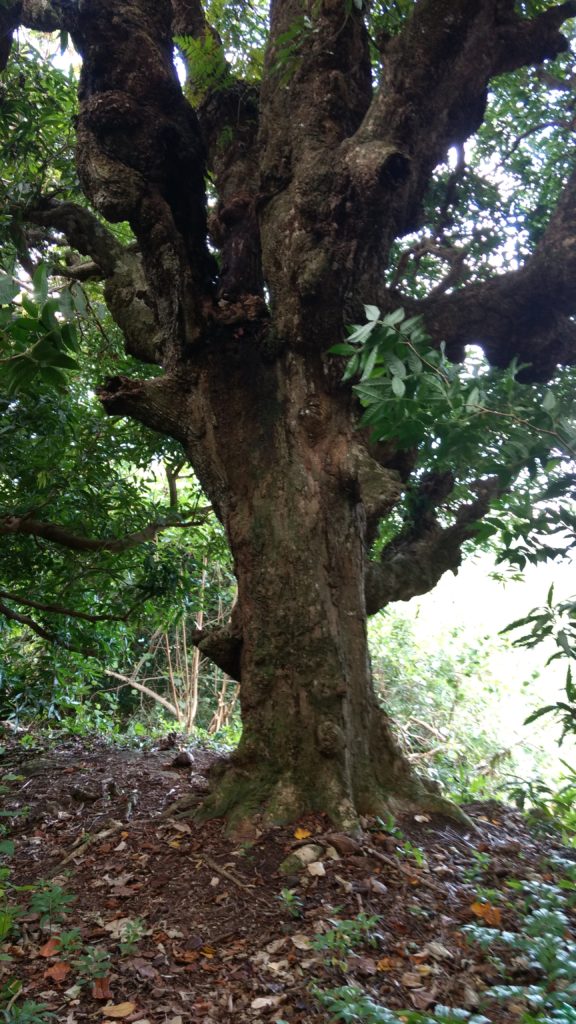
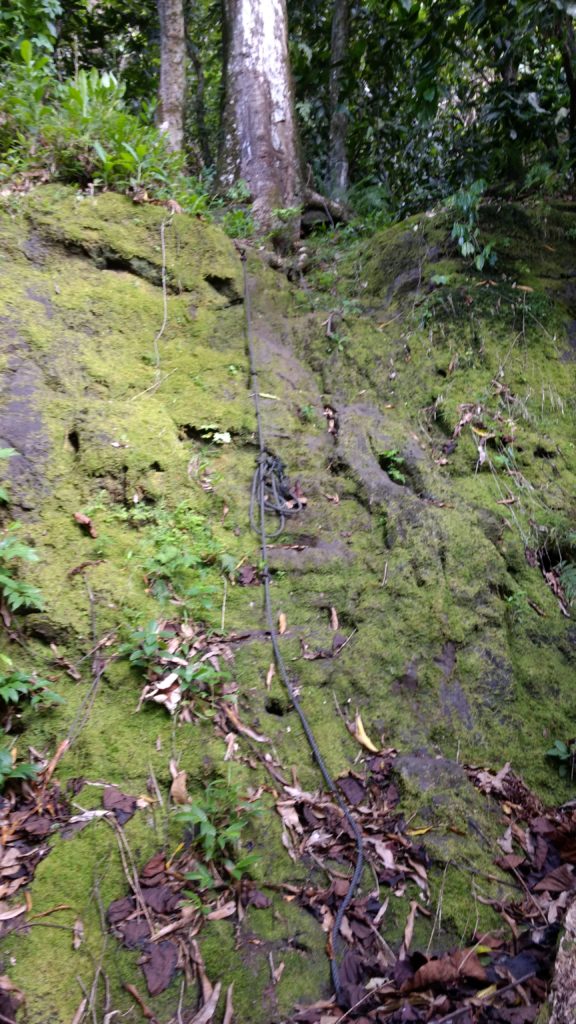
Start the hike in the narrow road right of Europcar and left of Hina Pearls. This is a residential road which soon will be unpaved. After 400m the road ends. Near the end, before a white house, turn left. The path leads north for 100m, then turning towards the mountain, passing through a banana plantation. 100m further the forest starts and immediately there’s something which appears to be a crossing intersection. Turn right (south) there, following the footpath into the woods, which is without major ascend for the next 100m. Sharp left towards the mountain and the ascend begins. After 150m there is a small partly obstructed viewpoint with a 100 year old mango tree. Around 10 Minutes later, the first rope will appear giving an insight, how the path will proceed. If you are almost struggling there, you should not continue, it will get slightly worse. If you just find it challenging, go ahead.
Soon a second rope follows. Here you are standing at that part of the mountain which is visible from the town as the lower cliff surrounding the mountain. In general the path goes the same direction more or less along the gradient of the slope, until the bottom upper cliff is reached. There is a third rope. The path now turns to the left following the bottom of the cliff and traversing around the mount Ohue for 120°. Although you already reached around 480m altitude, this traversing could take about half an hour, until there is a gap in the cliff, which is suitable for climbing up. This is on the northern slop including views to the airport, and the cargo harbor at Farepiti.
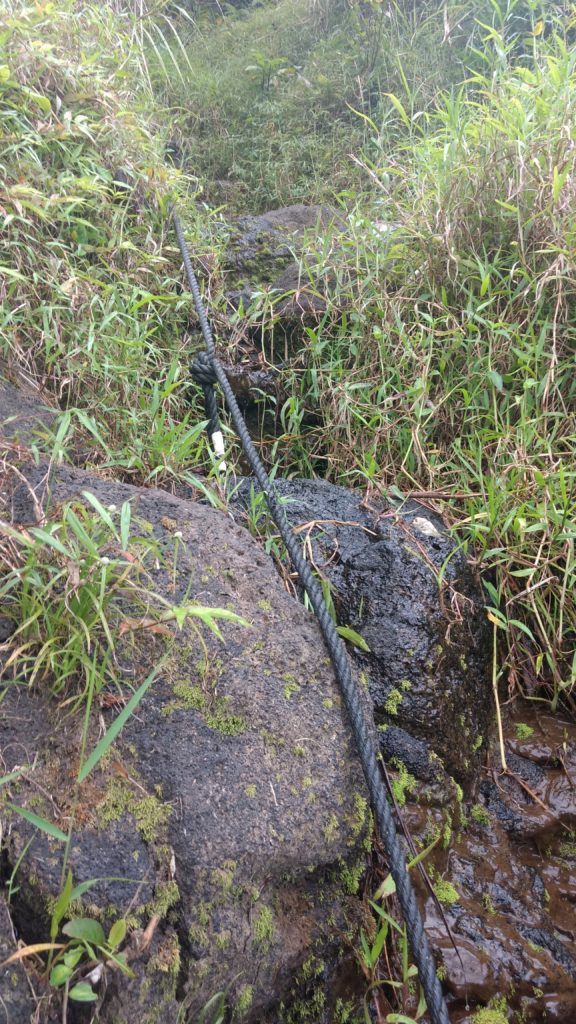
Turn towards the mountain again, there is a fourth rope where also a little bit of water is coming down the path. Another small cliff, just go ahead bypassing it. Finally a 2m bare rock with natural steps appears, which is secured by the fifth rope. This brings you to a rim, where summit is visible and just another few meters away.
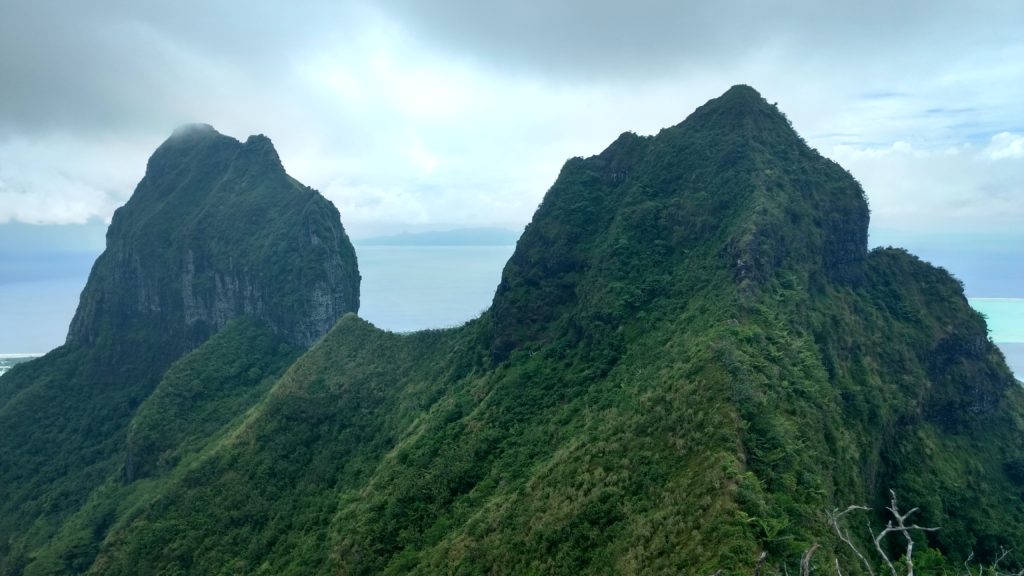
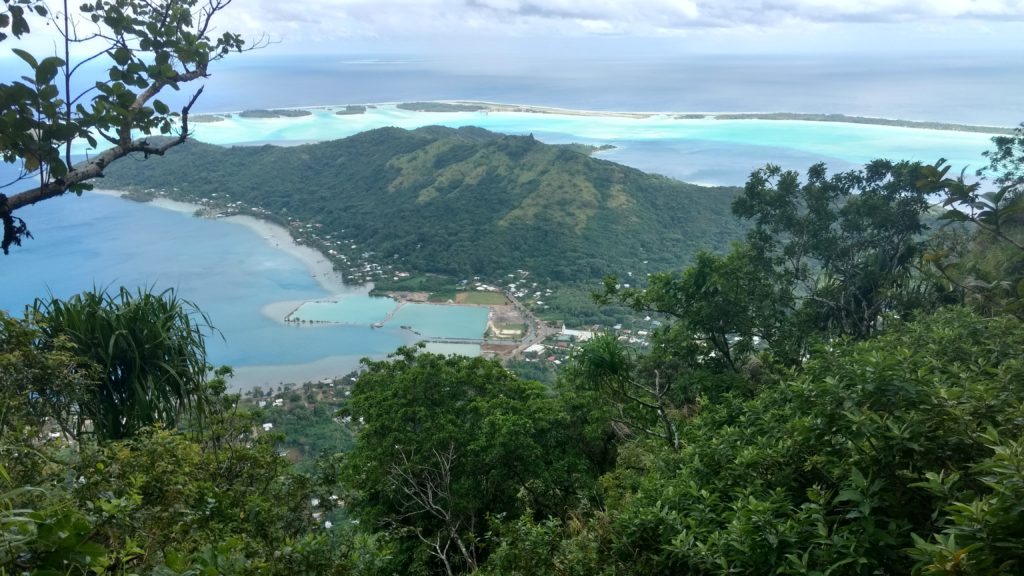
The summit gives you a breathtaking view, which makes a helicopter round flight obsolete. The summit height according to the Lonely Planet guidebook is 619m, my GPS showed 625m.
It was once possible to continue further to Mt. Pahia, but due to a fire, which devastated the vegetation around its summit, necessary grip and aid by plants and branches to overcome another small cliff, are gone. Maybe they already regrew to an extend, that it is possible to climb it again. Anyway, by looking at it, I reckon you probably will need climbing gear. By looking from Mt. Ohue, it was unclear if the trail goes along the rim all the time or surrounds the cliff lightly left. At least the path is not worn and clearly visible continuing from Mt. Ohue.

Noch kein Kommentar, Füge deine Stimme unten hinzu!